Steps to intergrate google fit with flutter

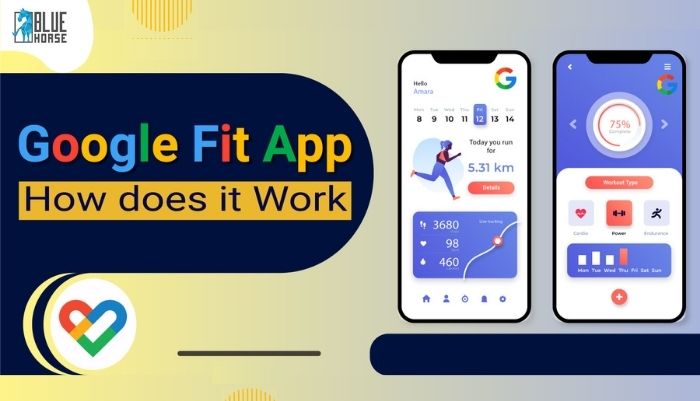
In today's health-conscious world, keeping track of your fitness and health data is essential. Integrating Google Fit data into your Flutter app can be a game-changer for both users and developers. In this comprehensive guide, we'll take you through the process of integrating Google Fit data into your Flutter application, step by step.
Step 1: Setting Up Your Google Console Project

The journey to Google Fit integration begins with setting up your project on the Google Cloud Console. Follow these steps diligently:
1.Create a Project on Google Console:
The starting point is to visit the Google Cloud Console and create a new project.
2.Enable the Fitness API:
Within your project, activate the Fitness API to gain access to health and fitness data.
3.Configure the OAuth Consent Screen:
Create a compelling OAuth consent screen that explains why your app needs access to the user's health data. Fill in the necessary details for user authorization.
4.Generate Credentials for API Key:
Generate credentials for your application. Provide details such as:
Name
Package Name (e.g., com.company.appname)
SHA-1 certificate fingerprint
5.Generating SHA-1 Fingerprint:
To obtain the SHA-1 fingerprint, open a command prompt and navigate to the .android directory on your Windows PC. Then, execute the following command:
keytool -list -v -keystore debug.keystore -alias
androiddebugkey -storepass android -keypass android
With these steps completed, your API setup is good to go.
Step 2: Creating Your Flutter Project
3.Configure the OAuth Consent Screen:
Create a compelling OAuth consent screen that explains why your app needs access to the user's health data. Fill in the necessary details for user authorization.4.Generate Credentials for API Key:
Generate credentials for your application. Provide details such as: Name Package Name (e.g., com.company.appname) SHA-1 certificate fingerprint5.Generating SHA-1 Fingerprint:
To obtain the SHA-1 fingerprint, open a command prompt and navigate to the .android directory on your Windows PC. Then, execute the following command:androiddebugkey -storepass android -keypass android
Step 2: Creating Your Flutter Project

Now, it's time to dive into the coding part of the integration. Start by creating your Flutter project and setting up the required dependencies.
Required Dependencies:
You'll need to include the following dependencies in your pubspec.yaml file:
dependencies:
health: latest_version
google_sign_in: latest_version
permission_handler: latest_version
Imports:
Import the necessary packages and create an instance of the Health package
import 'package:health/health.dart'; import 'package:google_sign_in/google_sign_in.dart'; import
'package:permission_handler/permission_handler.dart';
// Create an instance of the Health package HealthFactory health = HealthFactory();
Defining Data Types:
Determine the types of health data you want to access. For this example, we're interested in distance and step data:
List types = [ HealthDataType.DISTANCE_DELTA,
HealthDataType.STEPS, ];
Requesting Permissions:
Request the necessary permissions for accessing health data:
var permissions = types.map((e) =>
HealthDataAccess.READ_WRITE).toList();
Setting Data Duration:
Declare the time period for fetching health data. Here, we're fetching data for the past 30 days:
var now = DateTime.now(); var startTime = now.subtract(const Duration(days: 30));
var fromTime = fetchDataBy == startTime;
Fetching Google Health Data:
Retrieve the health data from Google Fit for the specified data types and time period:
List healthData = await
health.getHealthDataFromTypes(fromTime, now, types);
With this code, you've successfully fetched the desired health data from Google Fit.
In conclusion ,now you're ready to harness the power of Google Fit and provide your users with insightful fitness and health data in your Flutter app. Whether you're developing a fitness tracking app or a health analytics tool, this integration can take your app to the next level. Happy coding!
dependencies:
health: latest_version
google_sign_in: latest_version
permission_handler: latest_version
Imports:
Import the necessary packages and create an instance of the Health package'package:permission_handler/permission_handler.dart';
// Create an instance of the Health package HealthFactory health = HealthFactory();
Defining Data Types:
Determine the types of health data you want to access. For this example, we're interested in distance and step data:HealthDataType.STEPS, ];
Requesting Permissions:
Request the necessary permissions for accessing health data:HealthDataAccess.READ_WRITE).toList();
Setting Data Duration:
Declare the time period for fetching health data. Here, we're fetching data for the past 30 days:var fromTime = fetchDataBy == startTime;
Fetching Google Health Data:
Retrieve the health data from Google Fit for the specified data types and time period:health.getHealthDataFromTypes(fromTime, now, types);
With this code, you've successfully fetched the desired health data from Google Fit.
In conclusion ,now you're ready to harness the power of Google Fit and provide your users with insightful fitness and health data in your Flutter app. Whether you're developing a fitness tracking app or a health analytics tool, this integration can take your app to the next level. Happy coding!


Comments