Push Notification Using Laravel 8 with Pusher Account Creation
In this blog, we will learn about push notifications using Laravel 8 with pusher account creation. Please follow the below steps to get more clarifications.
Step 1:
For this implementation, we need to install one package
package name: pusher/pusher-php-server
command: composer require pusher/pusher-php-server
Step 2:
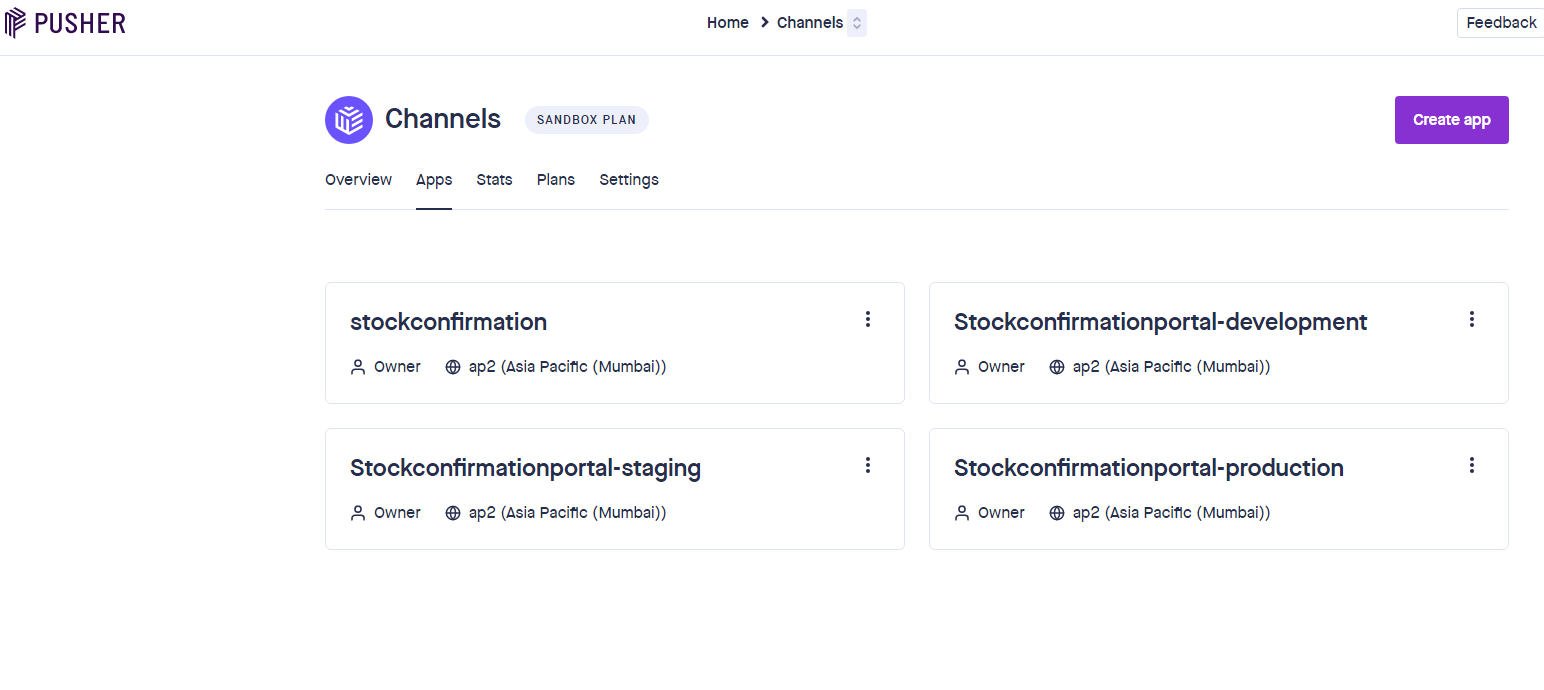
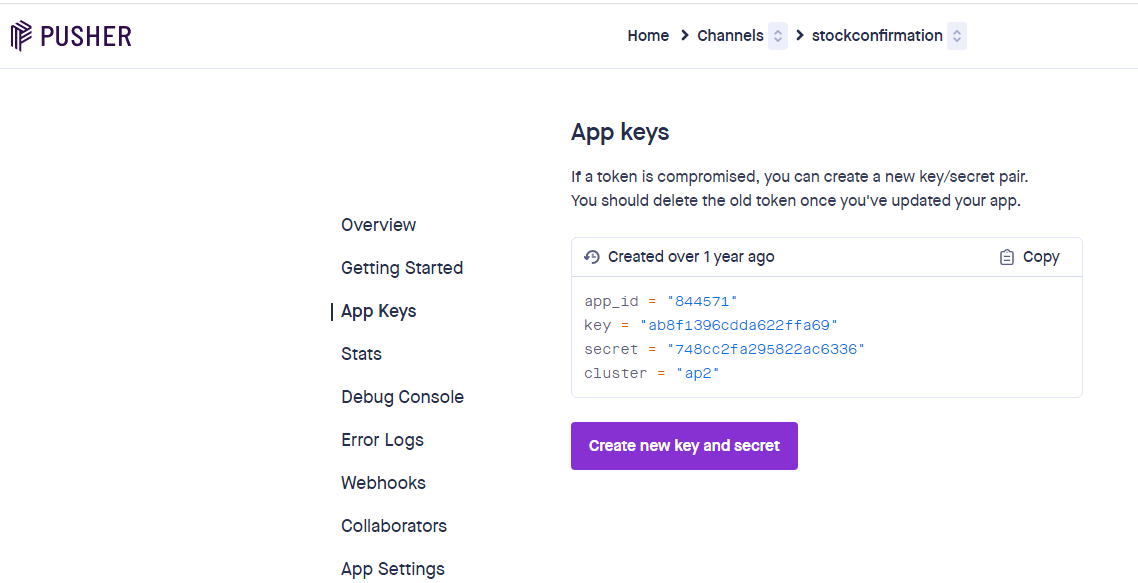
Then we have to create an account at Pusher.com. Go to this official website and create a channel. As below snap here we have created some channels. After account creation, you will get an app id, key, secret, cluster. Then add this at .env file
Step 3:
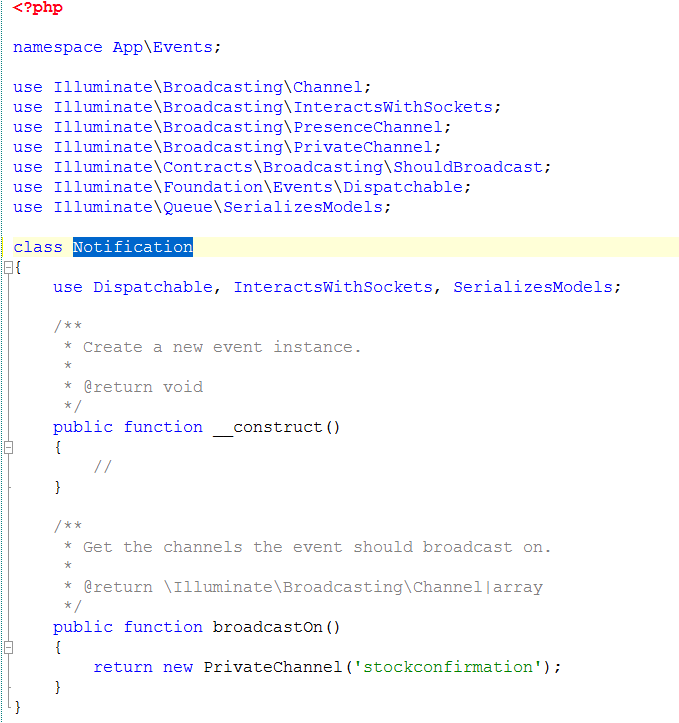
Then you have to create an Event at app/Event folder. You can call any event from anywhere that triggered in the application. Here we will create a notification send event by the below command.
command: php artisan make:event Notification
Step 4:
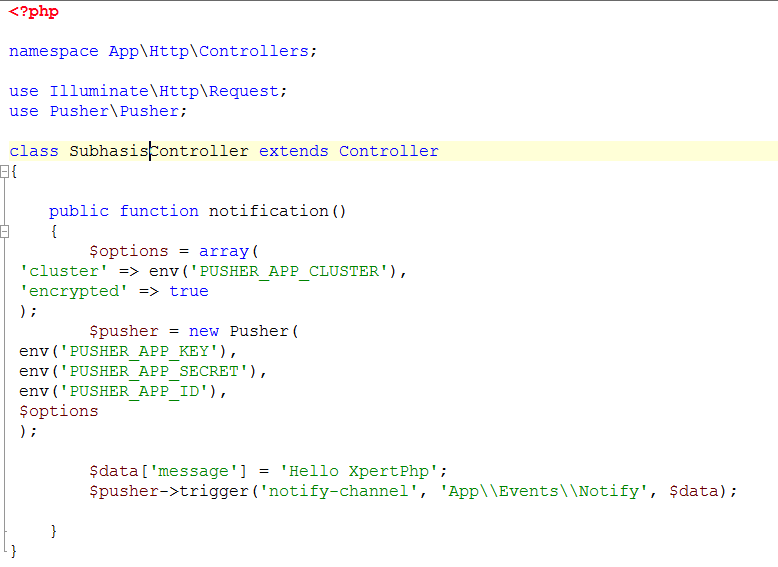
As below snap now we will create a controller and write a function that sends the notification.
Step 5:
As below snap next, we have to define the URL route at web.php
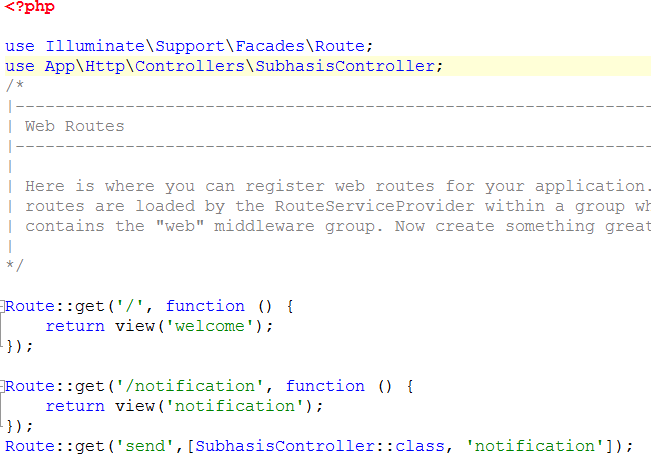
Step:6
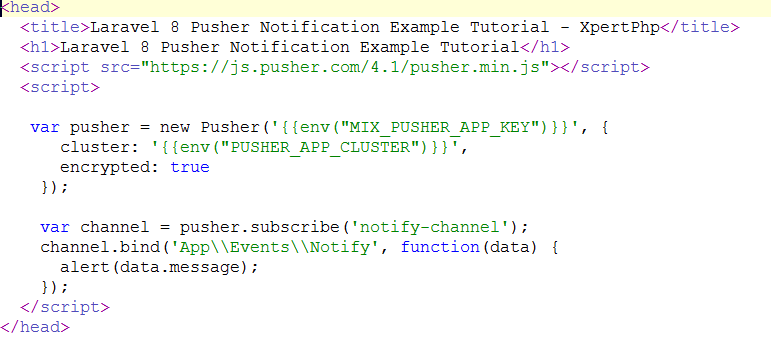
As below snap finally, we need to create a view blade file from where your notification popup will be displayed. At this view, you have to must include pusher.min.js
Finally, you will test your implementation by hitting the URL: http://localhost/pushnotification/public/send, and if you want to see your notification message then hit
this URL: http://localhost/pushnotification/public/notification at another tab and you will see a notification alert popup.
Conclusion
This is very important in the Laravel development. All the above code is created and tested by me. Please read the blog and share your reviews in the comment section.


Comments