Html setup for Design in Ionic Framework 6
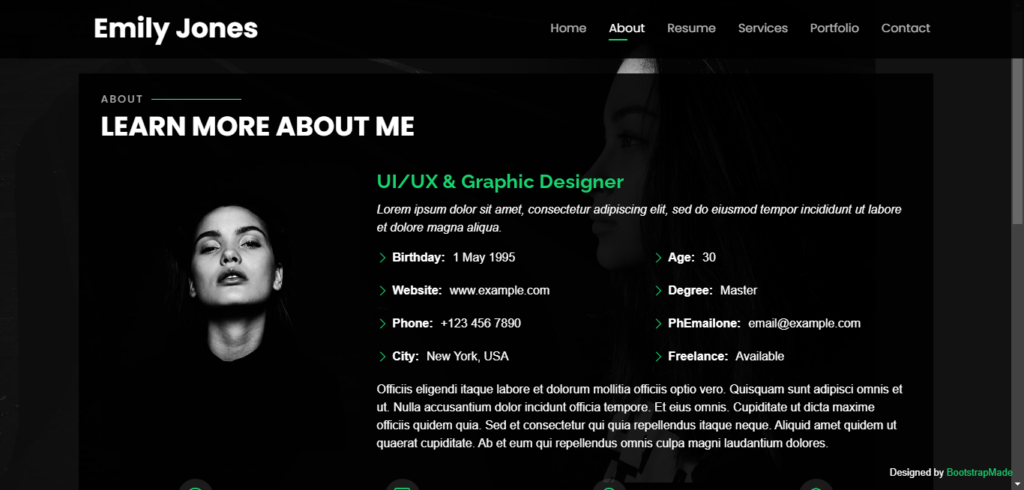
In this blog, we will discuss how to start an Ionic Application and convert a basic HTML theme into Ionic. First, we need to download any basic HTML theme to move on to the next step. So, Let’s start.

After downloading the HTML theme we need to create a new Ionic App by the following steps.
Step 1:
Open CMD and type $ ionic start myNewApp blank.Here the name of your new project will be myNewApp and the type of the project is blank (e.g. blank, tabs and sidemenu)
? tabs: A tabs-based layout
? sidemenu: A sidemenu based layout
? blank: An empty project with a single page
Step 2:
After that select --type of the project (e.g. vue, angular, react). Here we will use angular for our Ionic Project.
Step 3:
Then select (yes/no) if the project or your app will integrate with –capacitor to target native ios and Android.
Step 4:
After that it will install all npm (node package manager) and create the project. After that go to the project folder and type ionic serve to run the project. Then your project will be run.
After that we need to import our html theme assets (like css, images, js, fonts etc) to our application assets folder and link them within index.html. We need to copy our HTML into the home.page.html

Then, we need to create components for the common header and footer which will be used on all pages of our application.
To do this open cmd and type ionic g module components/common-module.
Then we will create a header and footer component as our need for the project.
We will type ionic g component components/header.
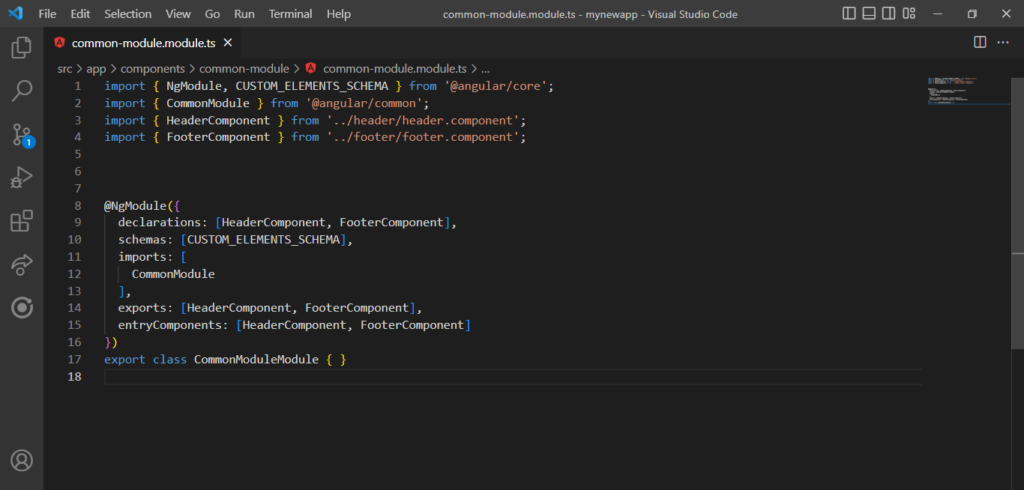
At last we add the header and footer components in common-module.ts

Finally: We need to import the common module in the homepage and run the app.

Note: Their two types of .scss in ionic project
? global.scss & variable.scss (manages style for all the theme)
? page.scss (manage the styles for the particular page)
(So do not write code in global.scss if the style is not needed in more than 2 or 3 pages)


Comments