How To Add a Collection In Circular Carousel on Shopify

Are you looking to enhance the visual appeal of your Shopify store and showcase your products in an engaging manner? Adding a collection in a circular carousel can be a great way to captivate your audience and draw attention to your featured items. In this comprehensive guide, we'll walk you through the step-by-step process of creating a custom circular carousel section on your Shopify store.
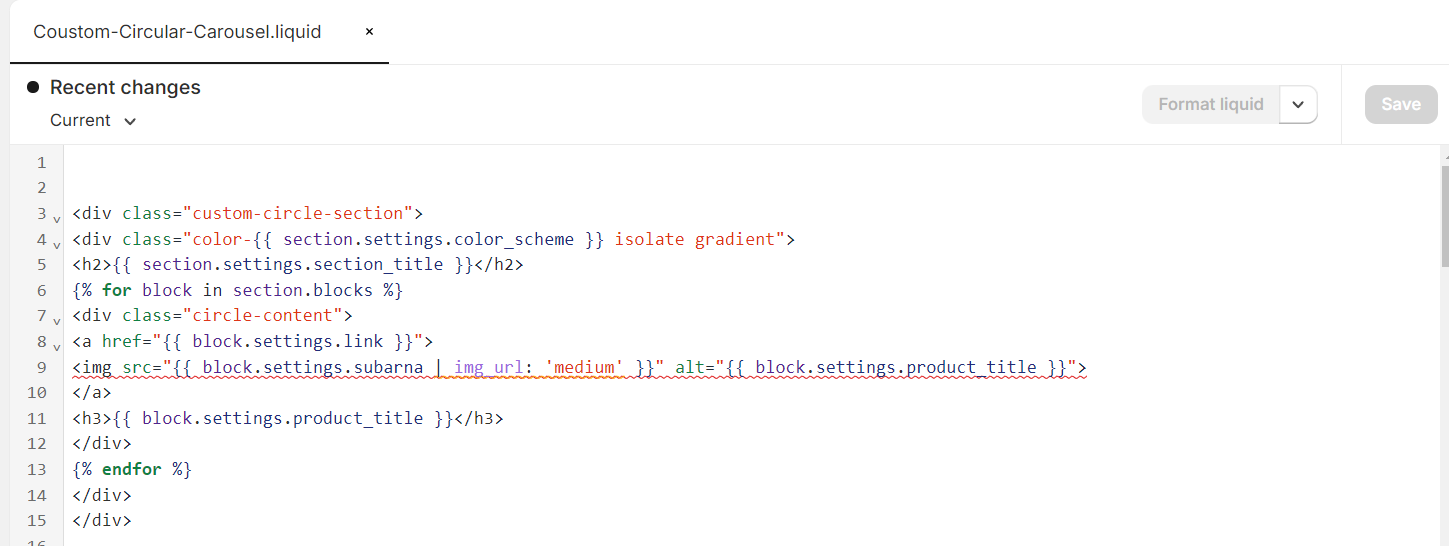
1. Create a New Section:
To access the Shopify admin dashboard, go to Online Store -> Themes. Under your current theme, select Actions and then Edit code. In the Sections directory, create a new section named Custom-Circle-Carousel.liquid. Finally, insert the provided Liquid code into this file.

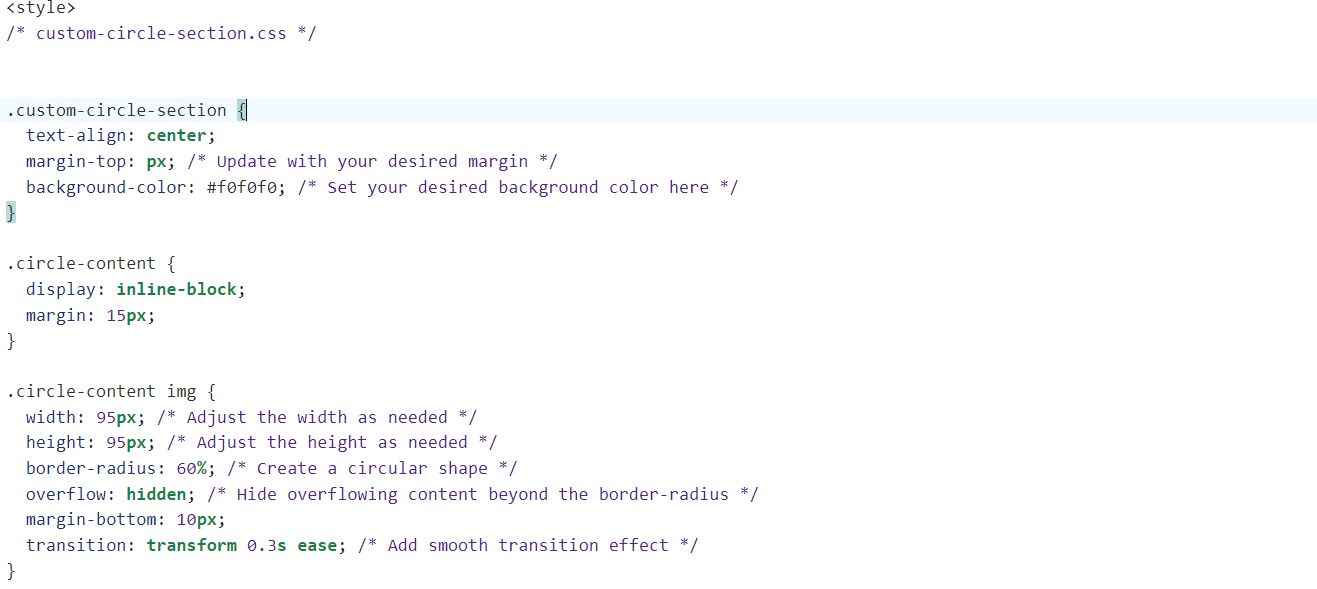
2. Add CSS:
In your theme files, you may have a theme.scss.liquid file or similar where you can add custom CSS. Insert the CSS code provided into this designated file.
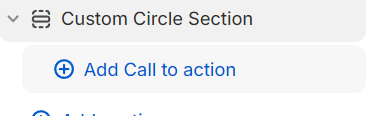
3. Configure Settings:
In your Shopify admin dashboard, go to Customize -> Sections. Find the section you just created (Custom Circle Section) and click on it to configure the settings. You can set the section title, color scheme, and add product images, titles, and links.


4. Add Section to Blog:
Once configured, go to the blog post where you want to display the circular carousel. Click on the Add section and select the Custom Circle Section from the list of available sections.
5. Save and Preview:
Save your changes and preview the blog post to see the circular carousel of featured products.
Conclusion:
By following these steps, you have effectively utilized Shopify's customization options to enhance the presentation of your blog content and showcase featured products in an engaging and visually appealing manner. Feel free to further customize and refine the carousel's design and functionality to better suit your branding and marketing objectives.


Comments